Scheduled SMS Sending
Estimated reading time: 12 minutes | Target users: Supervisors
In this tutorial, you will learn how to schedule the sending of SMS messages, which can be either mass SMS messages or disposition-triggered messages.
Scheduled SMS sending is effective in cases when the content or template of a message has been completed, but you do not wish to send the message yet. In such cases, specifying the time when you want the system to send the message to recipients allows your company to save on human resources, as well as bring your customers’ attention to certain events at the appropriate time.
In this tutorial, you will learn:
- How to set up an SMS template to send an SMS
- How to use an existing date field for scheduled SMS sending
- How to easily create new date fields for scheduled SMS sending
- How to use javascript to create a calculated date for SMS sending
- Where to search for scheduled SMS reports
- Use examples for scheduled SMS sending
1. Setting up an SMS Template to Send SMS Messages Immediately
Sending an SMS immediately is self-explanatory: once an agent saves a disposition that triggers the sending of a single or mass SMS, the message is instantly sent to its recipient(s). Here is how you can set this up in a few simple steps:
- Navigate to Project > Channels > SMS
- Choose one of your templates, then open the Settings tab
- In the Send date field choose Immediately from the drop-down list
2. Setting up an SMS Template to Send Scheduled SMS Messages based on a variable existing in your database
If you want to set up your message but want to send it at a later time and date, choose the scheduled SMS sending option. Here is how you can set this up:
- Navigate to Project > Channels > SMS
- Choose one of your templates, then open the Settings tab
- In the Send date field choose a variable name from the drop-down list that contains a date
- 3.1 The date in the chosen variable should be in the following format: YYYY-MM-DD HH:MM:SS
- 3.2 If the time is missing and only the date is entered for this value, then the system sends the message at 12AM (0:00) on the given date.
- 3.3 If the entered date does not adhere to the format shown above, or shows an overdue date, then the message is sent immediately once the disposition has been set.
3. Setting up a Template to Send a Scheduled SMS Message Based On a Value Specified by Agents During a Call
With disposition-triggered SMS sending, the agent enters the scheduled time and date they wish to send the SMS message during a conversation with the client. In the steps below, you can learn how to set this up.
- Go to project > Script editor > Datasheet or Script, depending on which one you are using. Learn more about agent scripts here.
- Drag and drop the Date and time controller, placing it in your preferred position.
- On the right-hand side, you can see the controller settings. Choose Date or Date and time. Choosing Time only is not recommended, as it will send the SMS message immediately, regardless of the entered value.
- Enter your chosen field name in the Field and Unique identifier, then press Create field.
- Navigate to project > Channels > SMS, and choose one of your templates.
- On the settings tab set the Send date to the variable you have just created.
Once you have set this up, your agents will, while being on calls with clients, be able to enter precise times and dates when the SMS message should be sent. Our system will then use this information to schedule and send the SMS message at the given time.
4. Using Javascript to Calculate a Date to Send an SMS
It is possible to calculate a time and date field based on an entered value your agent inputs while talking to a client. In order to set this up, you need to use JavaScript, which can be done without any specific knowledge of JavaScript coding. Take a look at our examples below, copy the example code and replicate the effect for your own needs.
In the example below we have a date and time set up by a sales agent in the meeting_date field, but you can send an SMS based on a calculated field (meeting_date_reminder) by adjusting the original date.
Note: The pageID value refers to the name of the created Datasheet page, as displayed in VCC Live at project > Script editor > Datasheet > selected datasheet > General (on the right-hand side pane) > Unique identifier.
4.1. One day before the entered time and date
$('pageId.meeting_date').afterSetData = function() {
    	let value = vcc.getFieldValue('meeting_date');
	let dateTime = new Date(value);
	dateTime.setDate(dateTime.getDate() - 1);
    	vcc.setFieldValue('meeting_date_reminder', formatDateTime(dateTime));
};

function formatDateTime(dateTimeObj) {
	return dateTimeObj.getFullYear() + '-' +
		('00' + (dateTimeObj.getMonth() + 1)).slice(-2) + '-' +
		('00' + dateTimeObj.getDate()).slice(-2) + ' ' +
		('00' + dateTimeObj.getHours()).slice(-2) + ':' +
		('00' + dateTimeObj.getMinutes()).slice(-2) + ':' +
		('00' + dateTimeObj.getSeconds()).slice(-2);
}
4.2 One hour before the entered time and date
$('pageId.meeting_date').afterSetData = function() {
    	let value = vcc.getFieldValue('meeting_date');
	let dateTime = new Date(value);
	dateTime.setHours(dateTime.getHours() - 1);
    	vcc.setFieldValue('meeting_date_reminder', formatDateTime(dateTime));
};

function formatDateTime(dateTimeObj) {
	return dateTimeObj.getFullYear() + '-' +
		('00' + (dateTimeObj.getMonth() + 1)).slice(-2) + '-' +
		('00' + dateTimeObj.getDate()).slice(-2) + ' ' +
		('00' + dateTimeObj.getHours()).slice(-2) + ':' +
		('00' + dateTimeObj.getMinutes()).slice(-2) + ':' +
		('00' + dateTimeObj.getSeconds()).slice(-2);
}
4.3 One minute before the entered time and date
$('pageId.meeting_date').afterSetData = function() {
    	let value = vcc.getFieldValue('meeting_date');
	let dateTime = new Date(value);
	dateTime.setMinutes(dateTime.getMinutes() - 1);
    	vcc.setFieldValue('meeting_date_reminder', formatDateTime(dateTime));
};

function formatDateTime(dateTimeObj) {
	return dateTimeObj.getFullYear() + '-' +
		('00' + (dateTimeObj.getMonth() + 1)).slice(-2) + '-' +
		('00' + dateTimeObj.getDate()).slice(-2) + ' ' +
		('00' + dateTimeObj.getHours()).slice(-2) + ':' +
		('00' + dateTimeObj.getMinutes()).slice(-2) + ':' +
		('00' + dateTimeObj.getSeconds()).slice(-2);
}
Since SMS Scheduling can use only the General type field, it is useful to apply JavaScript if you have the time and date stored in a single parameter field, and you want to use it to send an SMS. In this case, create a General type field (general_datetime) based on the Single parameter (single_datetime) value using JavaScript, and adjust its parameters as required, as described in the examples above.
To create a General field (general_datetime) containing a time and date, based on a Single parameter field (single_datetime), use the following code:
$('pageId.single_datetime').afterSetData = function() {
    	let value = vcc.getFieldValue('single_datetime').name;
	let dateTime = new Date(value);
	dateTime.setDate(dateTime.getDate());
    	vcc.setFieldValue('general_datetime', formatDateTime(dateTime));
};

function formatDateTime(dateTimeObj) {
	return dateTimeObj.getFullYear() + '-' +
		('00' + (dateTimeObj.getMonth() + 1)).slice(-2) + '-' +
		('00' + dateTimeObj.getDate()).slice(-2) + ' ' +
		('00' + dateTimeObj.getHours()).slice(-2) + ':' +
		('00' + dateTimeObj.getMinutes()).slice(-2) + ':' +
		('00' + dateTimeObj.getSeconds()).slice(-2);
}
To create a General (general_date) field containing the date only, based on a Single parameter field (single_datetime), use the following code:
$('data.single_datetime').afterSetData = function() {
    	let value = vcc.getFieldValue('single_datetime').name;
	let dateTime = new Date(value);
	dateTime.setDate(dateTime.getDate());
    	vcc.setFieldValue('general_date', formatDateTime(dateTime));
};

function formatDateTime(dateTimeObj) {
	return dateTimeObj.getFullYear() + '-' +
		('00' + (dateTimeObj.getMonth() + 1)).slice(-2) + '-' +
		('00' + dateTimeObj.getDate()).slice(-2) + ' ' ;
}
5. Scheduled SMS Information in the SMS Log
Information about logs and statistics for scheduled SMS messages can be found in the same screens where stats for regular SMSes are stored. Naturally, information regarding scheduled SMS that are to be sent at a future date are not yet shown in logs and statistics.
To look up logs for SMS messages:
- Navigate to project > Logs and Statistics > SMS log
- Set the filter for Sent SMS messages (Outbound).
- Press Search
Tip: To narrow down your results, choose the template you want to look up.
6. Examples of Scheduled SMS Messages
6.1 Bulk SMS Debt Collection
As an extension of a debt collection project, an SMS message can be sent to a customer when the customer has an overdue payment. The customer receives a reminder 1 day after the deadline of the payment promise, and the text message can include debt information eg. the amount to be paid, the final deadline of the overdue payment, or the next debt collection steps that will be taken.
6.2 Disposition-triggered SMS for Sales projects
Never have your customers miss a meeting again with the help of scheduled SMS messages. Once a meeting time and date has been confirmed with a client, save that date on the script or datasheet, so a scheduled SMS message can be sent 1 day before the meeting to the client as a reminder.
6.3 Mass SMS messaging for your customers
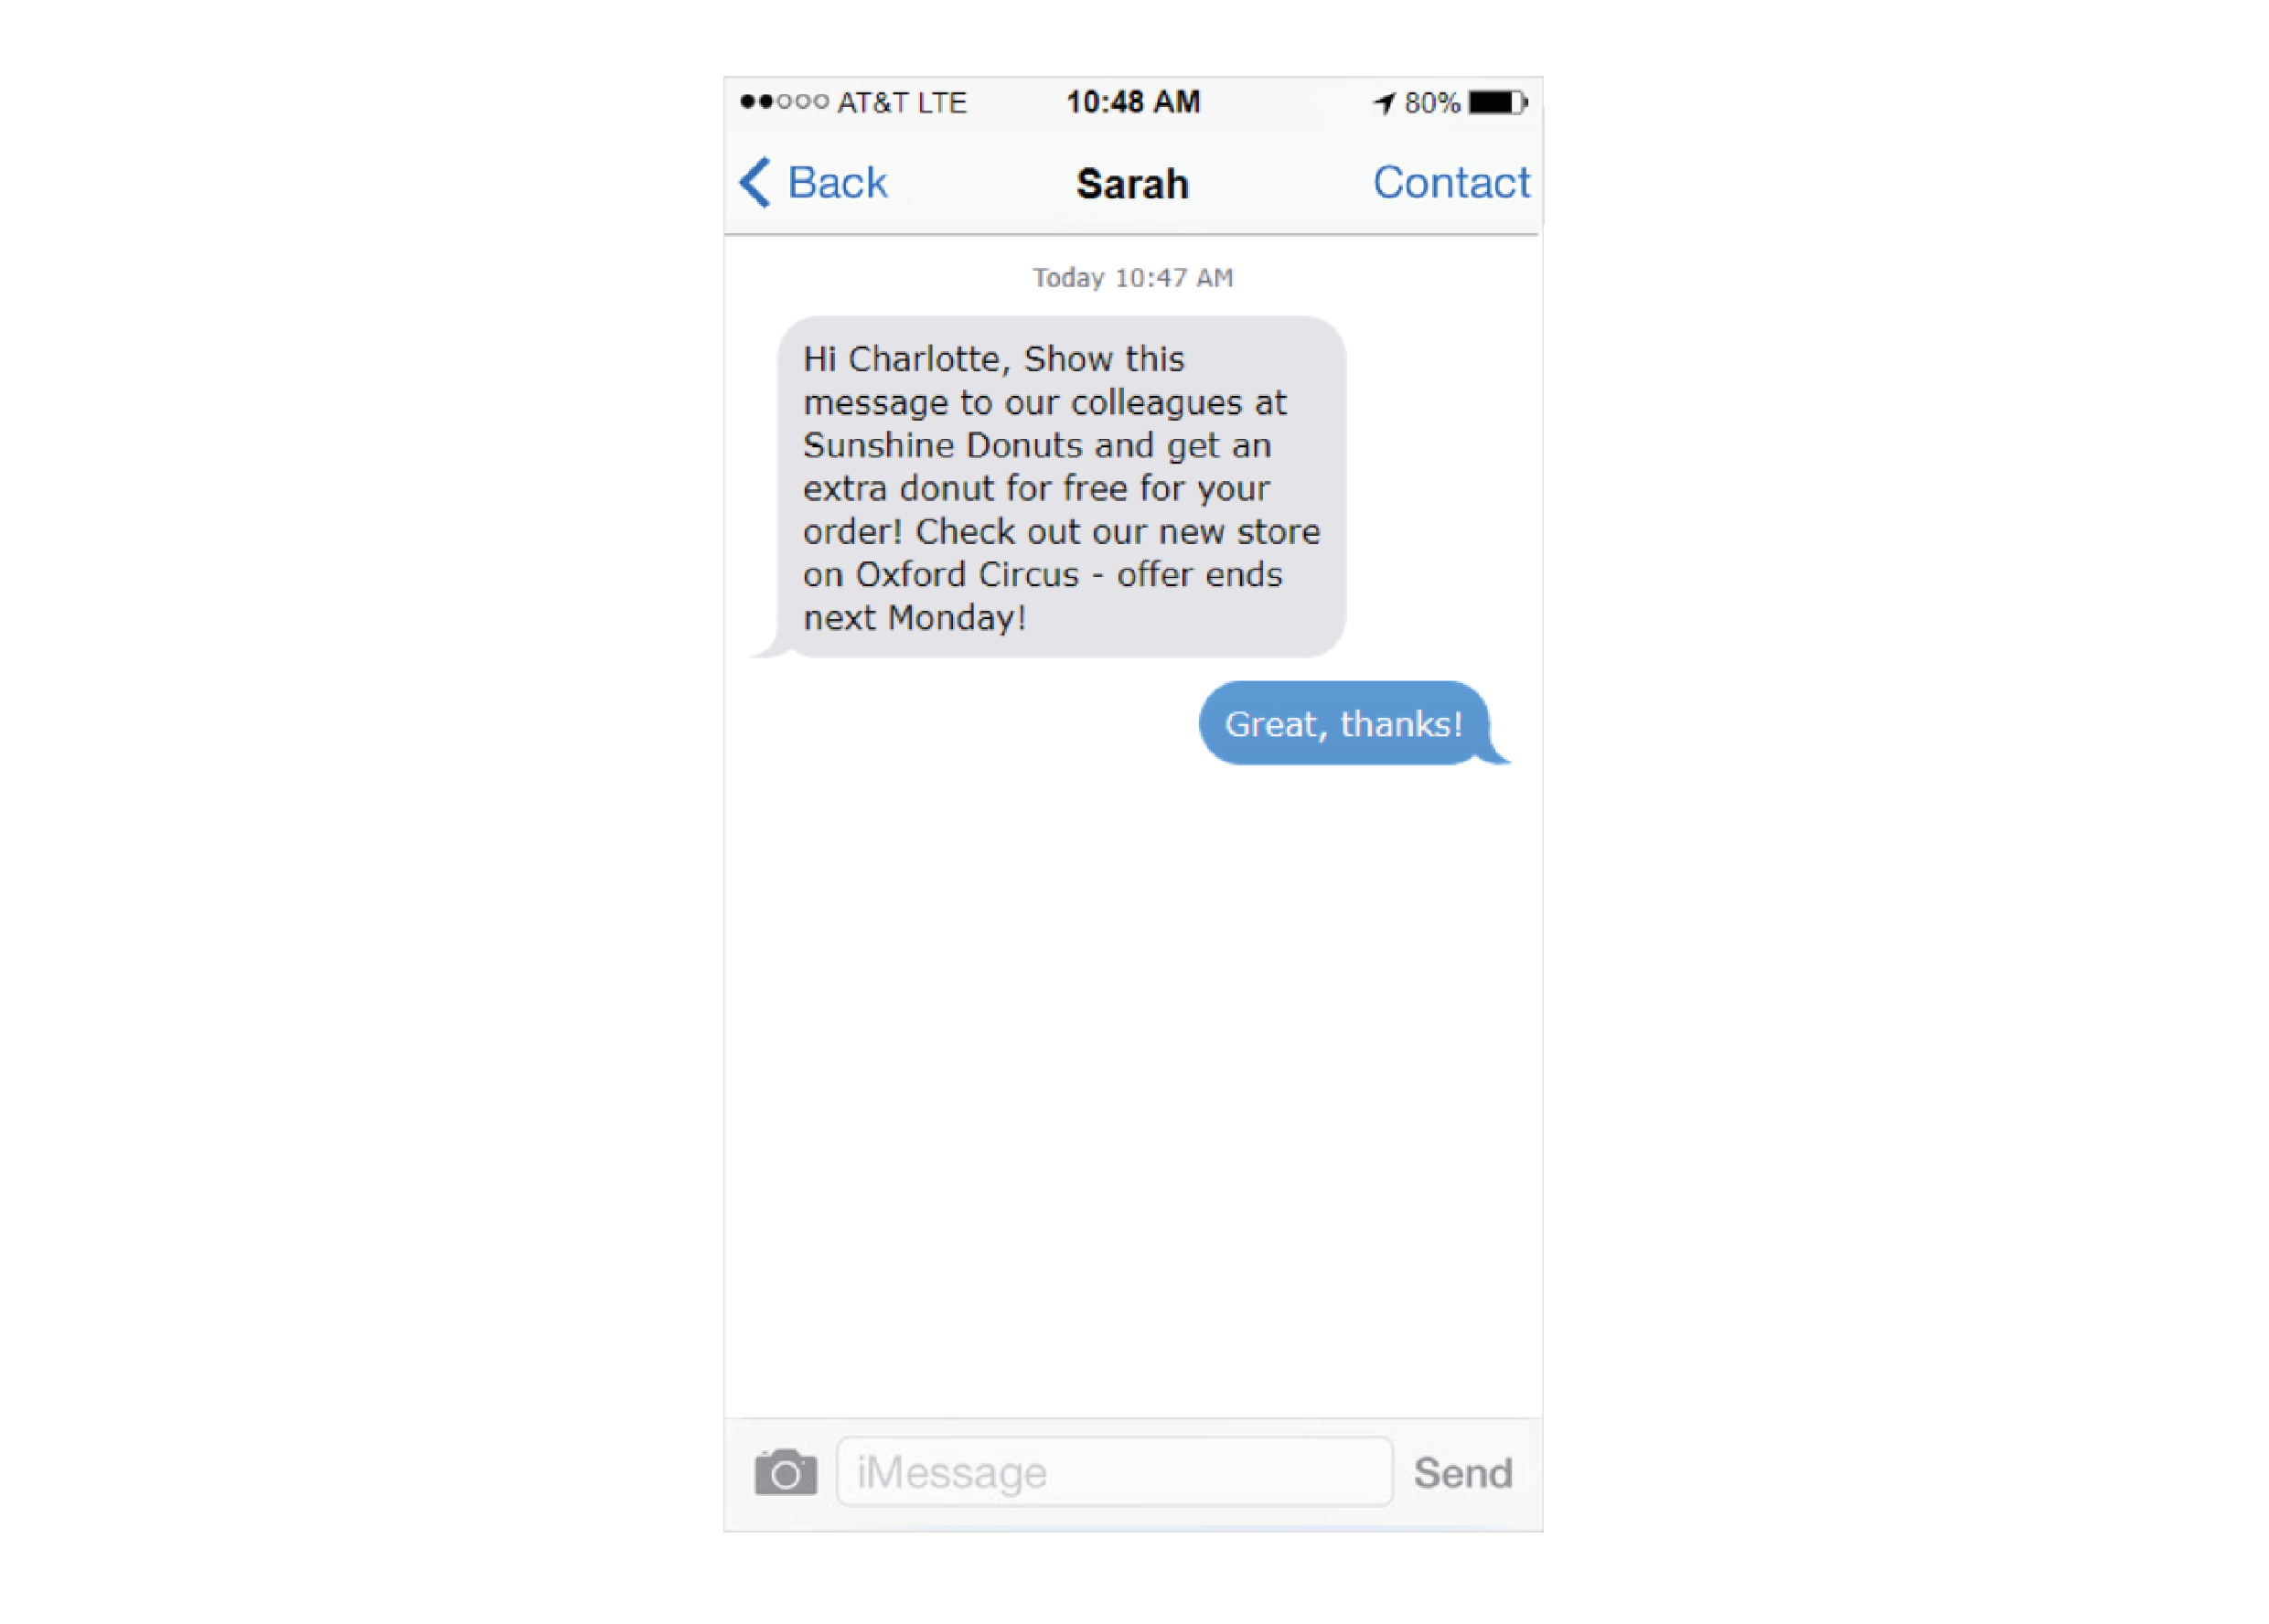
Create a marketing campaign for your local store, based on scheduled bulk text messages with promotional offers. Send short messages that grab your potential customers’ attention, and combine it with dynamic SMS content to make your message personal and improve your business with this simple tool.
Related articles
There's always more to learn. Discover similar features by visiting related articles:


Comments
Can’t find what you need? Use the comment section below to connect with others, get answers from our experts, or share your ideas with us.
There are no comments yet.